How To: Manually Restart CT&I Windows Agent
Scenario
If you are ever in the position where you need to restart the CT&I Agent for Windows, the following process will give you some guidance.
Method 1 (Recommended)
This is using the same commands the Guest Agent uses to maintain the agent. Run below commands in a PowerShell session.
| |
Method 2 (If method 1 does not work)
| |
How To: Manually Purge CT&I Windows Agent
Scenario
If you are ever in the position where you need to manually purge the CT&I Agent for Windows, the following process will give you some guidance.
Make sure to uninstall the CT&I extension from Azure Portal first, regardless of a failed uninstallation, as below process is only for the agent on OS, not for extension itself.
Method 1 (Recommended)
This is using the same commands the Guest Agent uses to maintain the agent. Run below commands in a PowerShell session.
| |
Method 2 (If method 1 does not work)
Remove change_tracking_service
1 2 3 4 5 6 7$serviceName = "change_tracking_service" # Stop the service if it is running Stop-Service -Name $serviceName -Force # Remove the service using sc.exe sc.exe delete $serviceNameRemove local files
- C:\Program Files\ChangeAndInventory\ *
- Optional: C:\WindowsAzure\Logs\Plugins\Microsoft.Azure.ChangeTrackingAndInventory.ChangeTracking-Windows<version>\ *
- Optional: C:\Packages\Plugins\Microsoft.Azure.ChangeTrackingAndInventory.ChangeTracking-Windows<version>\ *
How To: Manually Onboard CT&I Windows Agent
Scenario
If you are ever in the position where you need to manually onboard the CT&I Agent for Windows, the following process will give you some guidance.
Method 1 (Recommended)
This is using the same commands the Guest Agent uses to maintain the agent. Run below commands in a PowerShell session.
| |
Method 2 (If method 1 does not work)
Manually setup change_tracking_service. This needs PowerShell in elevated session.
| |
Note: You may backup any files in
C:\Program Files\ChangeAndInventory\if exists prior to these scripts.
How To: Enable Trace Logging of CT&I Windows Agent
Scenario
If you are ever in the position where you need to trace down details on how CT&I Agent Linux works, the following process will give you some guidance.
Step 1: Change Log Level in Configuration File
In order to enable debug logging of CT&I Agent, we need to edit the configuration file C:\Packages\Plugins\Microsoft.Azure.ChangeTrackingAndInventory.ChangeTracking-Windows\<version>\application.yml. There are three parts we need to take care of
Enable trace logging for
cta_windows_agent.log. Enable debug log for this is usually enough as this is the main agent log, which contains communication with AMA and details of Files/Services/Software/Registry inventory and changes. Edit the level toTRACE.
Enable trace logging for
cta_windows_handler.log. The is the log of handler services, brings up agent main process, provides basic environment parameters to the agent. Edit the level toTRACE.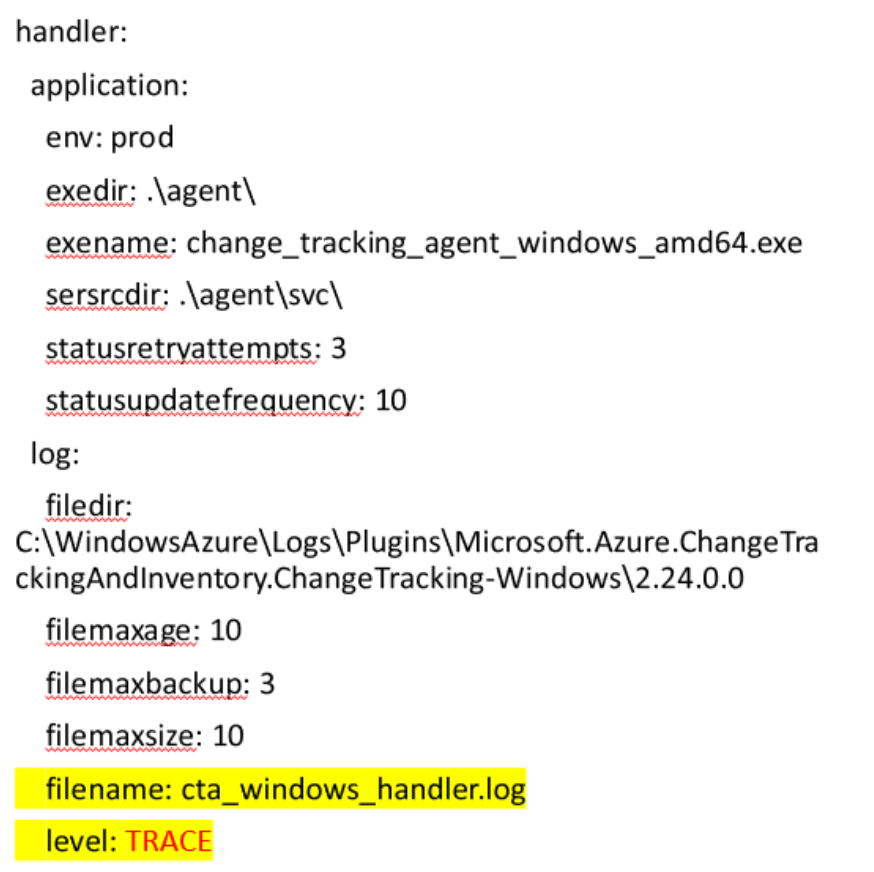
Enable trace logging for
cta_windows_watcher.log. The is the log of checking whether agent main process/service are running. Edit the level toTRACE.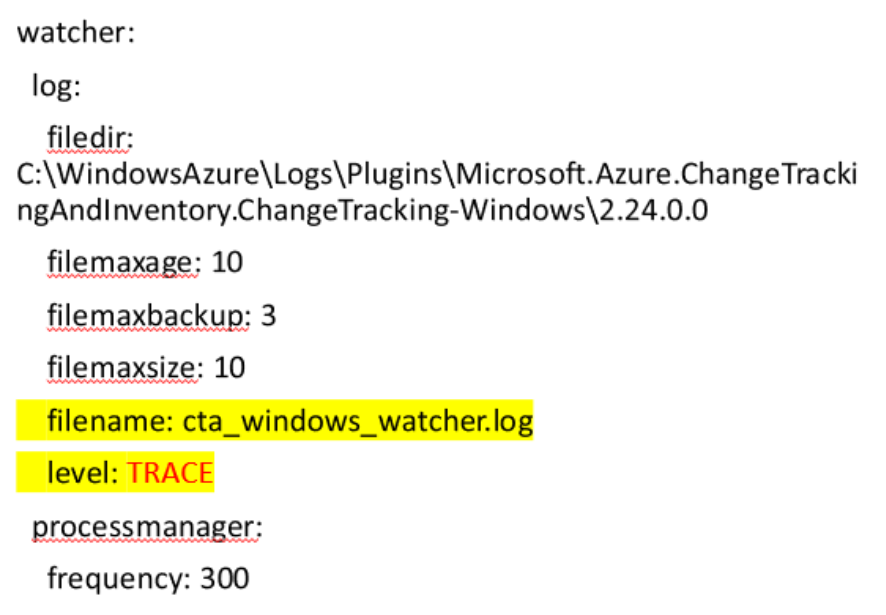
Step 2: Restart CT&I Agent
- For how to restart CT&I Agent, Please refer to How To: Manually Restart CT&I Windows Agent .
Note:
- After restarted the CT&I Agent, we need to wait for some time for debug logs being populated. Typically 1 hour would be good to collect a cycle run of Registry Keys, Services, Software and Files.
- Please change the collection level back to avoid filling up disk space after logs are collected.